Rationale
We want to share wireless with people who are passing through, but prevent leeching. Also, fun.
Inspiration and Intent
The Upside-Down-Ternet is amusing and a practical deterrent to leeching wireless internet, though it does not allow a nice way to let incidental users have unmodified usage.
As a variant, we will shuffle where links go to, and which image is loaded where. We will also keep track of clients' usage, and do more shuffling the more and longer they use our connection. Suddenly, every click of a link, every caption on an image, is an unexpected simile!
Result
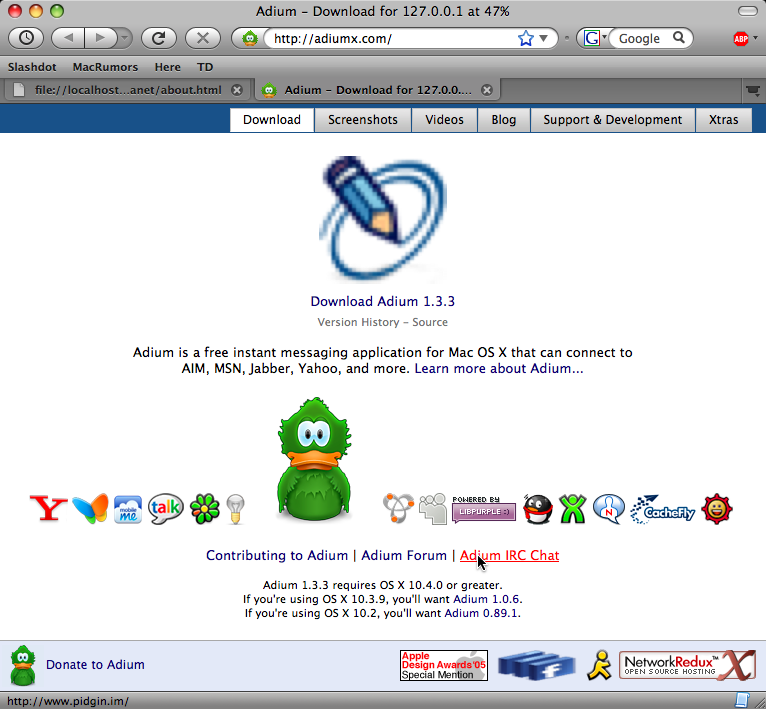
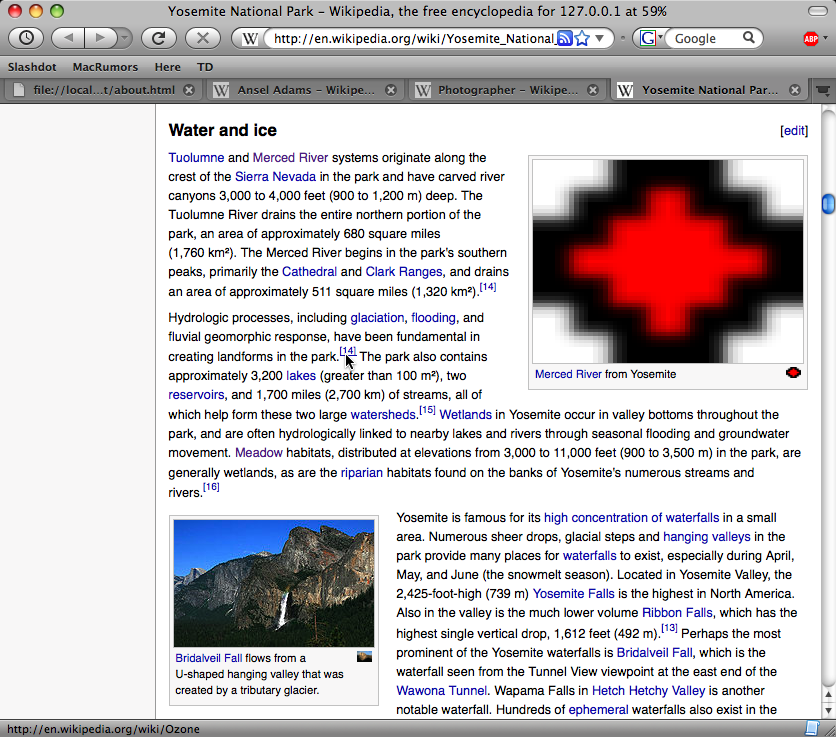
Adium has a giant, pixelated livejournal logo for its application icon; it espeically proud of supporting its previous icon and the new cacheFly protocol. Merced River in Yosemite National Park has turned to radioactive blood, and the only citation needed for glaciation and flooding's having creating the landscape is an ominous link to Ozone.
Overview / Implementation Plan
The high-level building blocks follow. They have a 1:1 mapping with Upside-Down-Ternet, but are adapted for OpenBSD and for our alternate intent.
- Configure the DHCP server to recognize known clients by physical address, and assign them IP addresses from one pool; and give unknown clients IP addresses from another pool.
- Configure the OpenBSD packet filter (
pf) to allow limited access for IP addresses in the 'unknown clients' pool, and to redirect them through a proxy. - Run a transparent proxy on the router which gets the HTTP requests from the clients, retrieves the intended data, and passes it through some filter before returning it. Vary the extent of the filtering depending on how much the client has been using the connection.
- Create a script which processes HTML: shuffle the
hrefattributes ofaelements and thesrcattributes ofimgelements; and append some semi-informative information to the page title.
Download / Try Locally
The proxy and filtering is implemented in Python. Python 2.5 is available as a package for OpenBSD, and is included by default on MacOS X (though it may not be the default version). (This may work in earlier versions of Python as well.) Also included are example configuration files for dhcpd.conf and pf.conf.
The proxy can be run locally:
- Download and unpack.
- The main file is
Disorganet.py. Open a shell (Terminal in Utilities on MacOS X), navigate to the Disorganet directory, and run./Disorganet.py --timeout 120 --highest-count 20 --longest-stretch 60. - Set your web browser to use
localhostas a proxy server for HTTP on port8042. In Firefox, proxy settings are in preferences, in the Advanced panel, in the Connection Settings dialog; chose Manual Proxy Configuration. - Surf! Wikipedia and flickr provide interesting results.
- Restore your previous proxy settings and type
Control-Cin the shell running Disorganet to end the fun.
Limitations and Ideas
Clients can spoof hardware addresses and self-assign IP addresses. The latter can more completely circumvent our efforts, in that if an unknown user picks an IP in the 'known users' range, they will not be routed through the proxy. It is unlikely that an unknown user will pick a hardware address which is thought to be a known user; however, changing IP addresses (which will be a side effect of changing hardware addresses) will result in the proxy assuming zero usage for the client.
Secure connections (HTTPS) cannot be intercepted and modified. We disallow them via pf.
Some web pages don't interact well with the proxy for uncertain (to the author as of 2009 March 15) reasons; among them are the New York Times, YouTube, and Livejournal. Some web pages build themselves through javascript and thereby bypass the filter, as is the case of GMail.
This configuration may not be IPv6 friendly.
Other variations: Translate all pages to Chinese and back. Add blink tags. ...
Execution Details
In this setup my router — the machine running OpenBSD 4.4 — is 10.0.0.1, with an network interface on the internal network named in0 and one on the external network named out0. My laptop, connecting to the network, is named mylaptop and gets 10.0.0.2. (The actual setup includes an Airport Express which is on the trusted subnet, but it runs in bridge mode and therefore doesn't affect our configuration.)
This is coordinated with enabling dhcpd, pf and DNS in /etc/rc.conf.local:
dhcpd_flags=""
named_flags=""
pf=YES                  # Configuration file /etc/pf.conf specified in rc.conf
/etc/dhcpd.conf
Configure the DHCP server with two subnets. Although online documentation indicated a pool statement could be used to divide up a single subnet, this was not recognized on my sustem.
authoritative;
# Tell clients whose configurations don't conform
#	to our setup to get a new address.

# This whole setup only tells clients to divide themselves up; it does not
#	prevent an unknown host from specifically requesting an IP address
#	in the known-hosts subnet range.

# start of a physical network (subnets within are on the same physical device)
# the name is an arbitrary identifier
shared-network local {
	option  domain-name "my.server.org";
	option  domain-name-servers 10.0.0.1;

	# Define two subnets, with a /25 netmask (half of the last 255 each).

	# known clients
	subnet 10.0.0.0 netmask 255.255.255.128 {
		option routers 10.0.0.1;
		# No range necessary for knosn-hosts only.
		deny unknown-clients;

		host mylaptop {
			hardware ethernet 00:11:22:33:aa:bb;
			fixed-address 10.0.0.2;
			option host-name "mylaptop";
		}
	}

	# unknown clients
	subnet 10.0.0.128 netmask 255.255.255.128 {
		option routers 10.0.0.1;
		range 10.0.0.220 10.0.0.254;
		allow unknown-clients;
	}
}
Existing clients (and their hardware addresses) will be listed in /var/db/dhcpd.leases, which has entries like this:
lease 10.0.0.2 {
	starts 0 2009/03/15 01:58:51;
	ends 1 2009/03/16 01:58:51;
	hardware ethernet 00:11:22:33:aa:bb;
	uid 00:00:11:11:aa:aa:ee;
	client-hostname "mylaptop";
}
This is coordinated /etc/hostname.in0:
inet 10.0.0.1 255.255.255.0 NONE
# Internal (LAN) Interface
# IP here must match dhcpd configuration
and with settings in /etc/sysctl.conf:
net.inet.ip.forwarding=1        # 1=Permit forwarding (routing) of IPv4 packets
net.inet6.ip6.forwarding=1      # 1=Permit forwarding (routing) of IPv6 packets
/etc/pf.conf
The parts of this configuration specific to Disorganet are redirecting www (port 80) requests from unknown clients to the proxy (port 8042), and disallowing all other traffic from unknown clients.
See pf documentation for more details. Although I initially tried to use tables for the address ranges, I was unable to get that configuration to work; thus, plain macros and lists instead.
###
# Section I: Macros (user-defined variables)
###

# Hardware network interface names
ext_if="out0"
int_if="in0"

# Address ranges
knownlocals = "{ 127.0.0.0/8 10.0.0.0/25 }"
unknownlocals = "{ 10.0.0.128/25 }"
locals = "10.0.0.0/24"

# Connections this server will listen for externally
tcp_services = "{ ssh, www, https }"
udp_services = "{ }"

icmp_types = "echoreq"

# Port used for the proxy for unknownlocals
proxy = 8042

###
# Section  II: Tables (like macros, but faster for IP address ranges)
###

###
# Section III: Options
###

# The alternative is "drop", which results in packets being silently dropped.
set block-policy return

# No filtering/etc is required ont he loopback interface.
set skip on lo0

###
# Section IV: Scrub (normalize packets; prevent ambiguities/fragmentation)
###

scrub in all

###
# Section V: Queueing (adjust priority and bandwidth allotment)
###

###
# Section VI: Translation (NAT and redirection)
###

# Note that unless a nat rule includes the 'pass' keyword,
#	associated traffic will still be filtered.
# Although we could specify ports here, leave that to filtering.

## NAT

# Translate all internal addresses to the external IP address,
#	given as the interface in parentheses so that if the external
#	IP changes the rule will be updated without need for reloading.
# Use $int_if:network here instead of $locals since we are leaving all the
#	traffic limitations to filtering; this is just topology.
nat on $ext_if from $int_if:network to any -> ($ext_if)

## Redirection

# Redirect unknown/public www requests to localhost.
# Note that the redirected port is still subject to filter rules.
rdr on $int_if proto tcp from $unknownlocals to any port {www} -> \
	localhost port $proxy

###
# Section VII: Filter Rules (on a last-matched basis)
###

# Default deny.
block in  all
block out all

# Allow all communication between the local net and this machine.
pass in  on $int_if from $locals to any
pass out on $int_if from any to $locals

# Pass  all ICMP traffic to interfaces.
pass in inet proto icmp all icmp-type $icmp_types

# Allow specific incoming connections to this machine.
# Not specifying inet or inet6, pf determines which based on addresses.
pass in on $ext_if proto tcp from any to ($ext_if) port $tcp_services
pass in on $ext_if proto udp from any to ($ext_if) port $udp_services

# Allow all requests from this machine (and the nat-ed local net)
#	to the external internet.
# By default, 'keep state' is specified; 'modulate state' only applies to tcp.
pass out on $ext_if proto {tcp, udp, icmp} all modulate state

## Unknown/public subnet
block in on $int_if from $unknownlocals
pass  in on $int_if proto icmp from $unknownlocals to any
pass  in on $int_if proto {tcp, udp} from $unknownlocals to any port {time, domain, www, $proxy}
# Notably, we are not allowing: ssh, https, AIM
Disorganet Proxy
The HTTP proxy is based on TinyHTTPProxy (written by SUZUKI Hisao in 2006). It implements a subclass of BaseHTTPServer.BaseHTTPRequestHandler to respond to the actual GET requests, and subclasses BaseHTTPServer.HTTPServer so the server can provide usage tracking for the request handler.
The exciting part of the request handler, after it do_GET is called and the query has been carried out, looks like this:
def handleHTMLResponse(self, response):
        self.send_response(response.status, response.reason)
        for key, value in response.getheaders():
                self.send_header(key, value)
        self.end_headers()

        ip, _ = self.client_address
        disorganization = self.server.getUsageTracker().getUsage(ip)
        percentage = int(disorganization*100)

        html = response.read()

        html = AddTitleSuffix(html, 'for %s at %d%%' % (ip, percentage))
        html = MixAttributes(html, tag='a', attribute='href',
                mixAmount=disorganization)
        html = MixAttributes(html, tag='img', attribute='src',
                mixAmount=disorganization)

        self.wfile.write(html)
In turn, MixAttributes is text processing with regular expressions, and shuffling of attributes to a specified degree. The meat of it goes like this:
# coming in with verified parameters html, tag, attribute, and mixAmount
attributeRegExp = re.compile(
	r'(<%s[^>]+%s=")([^">]*)("[^>]*>)' % (tag, attribute),
	re.MULTILINE|re.DOTALL|re.IGNORECASE)
htmlParts = attributeRegExp.split(html)

# This splits, for example, 'before <a href="url">text</a> after'
# into ['before ', '<a href="', 'url', '">', 'text</a> after'], where
# index 2 and every (i-2) % 4 thereafter is an attribute.

attributes = []
for i, htmlPart in enumerate(htmlParts):
	if (i-2) % 4 == 0:
		attributes.append(htmlPart)

# pick numToMix attributes to selectively shuffle
numAttributes = len(attributes)
numToMix = int(mixAmount*numAttributes)
if numToMix < 2:
	return html
moversMixed = random.sample(
	[pair for pair in enumerate(attributes)],
	numToMix)
moversOrdered = sorted(moversMixed)
for ordering, (oldIndex, attribute) in enumerate(moversMixed):
	newIndex = moversOrdered[ordering][0]
	attributes[newIndex] = attribute

newHtml = ''
attributesIter = iter(attributes)
for i, htmlPart in enumerate(htmlParts):
	if (i-2) % 4 == 0:
		newHtml += attributesIter.next()
	else:
		newHtml += htmlPart

return newHtml