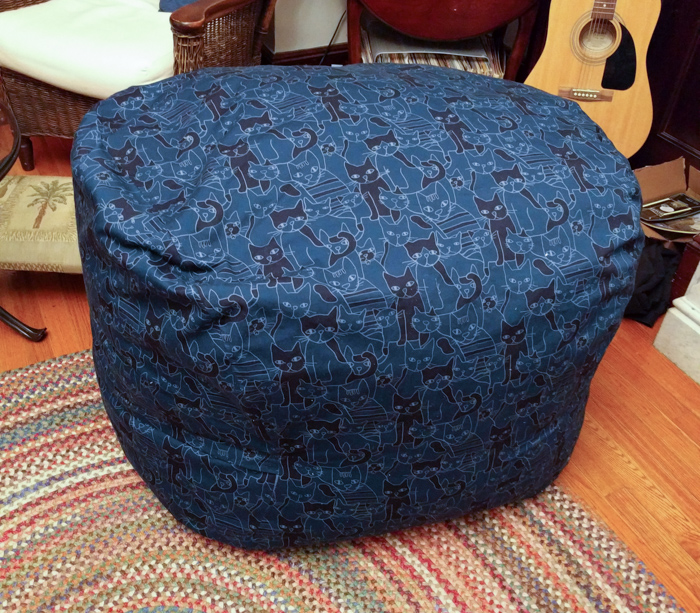
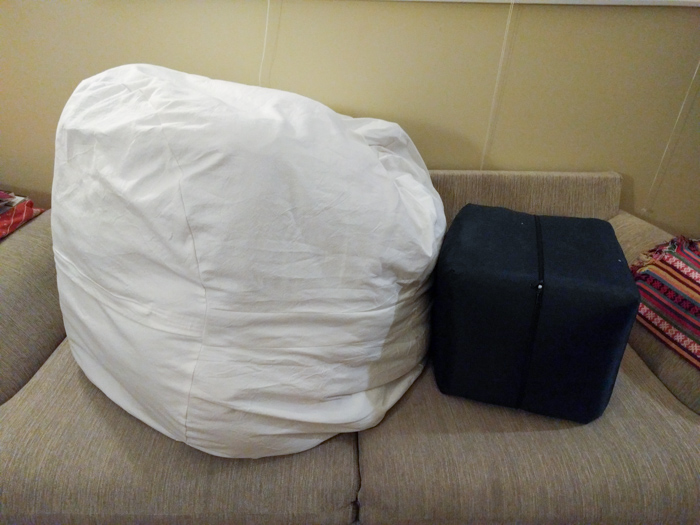
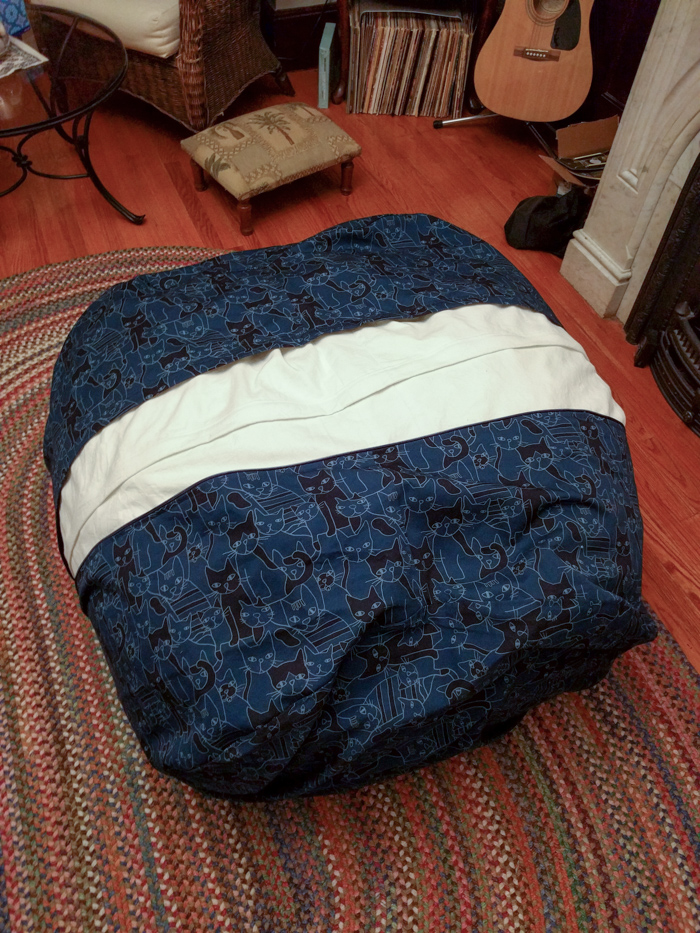
This is a grown-up-sized bean bag chair (about 3½' in diameter), sewn from about four yards of cloth each for the liner and cover.
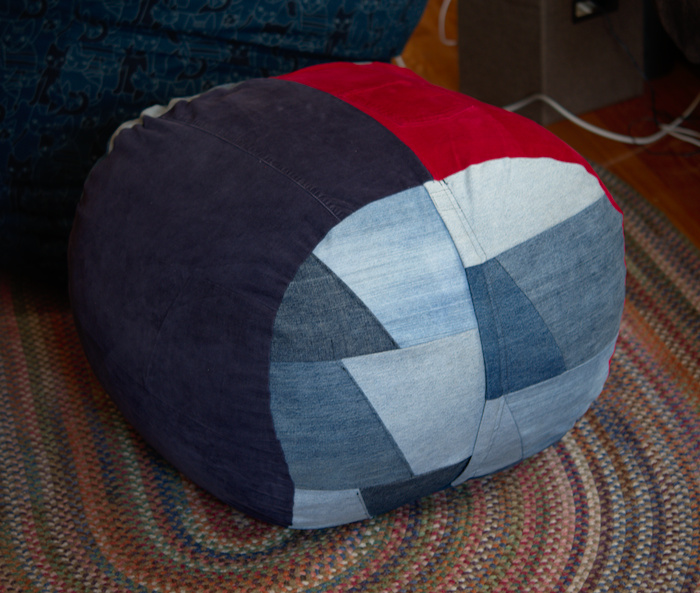
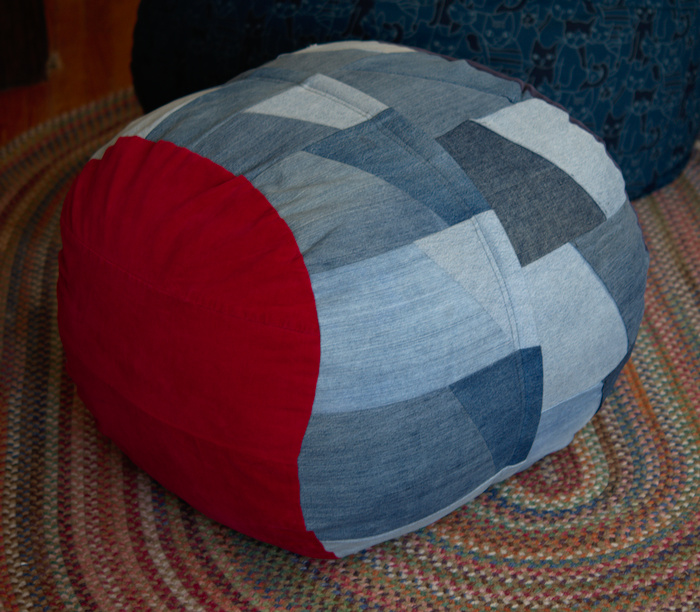
I also made a variation out of scrap denim and corduroy. I scaled the pattern down to two-thirds size (about 2' diameter).
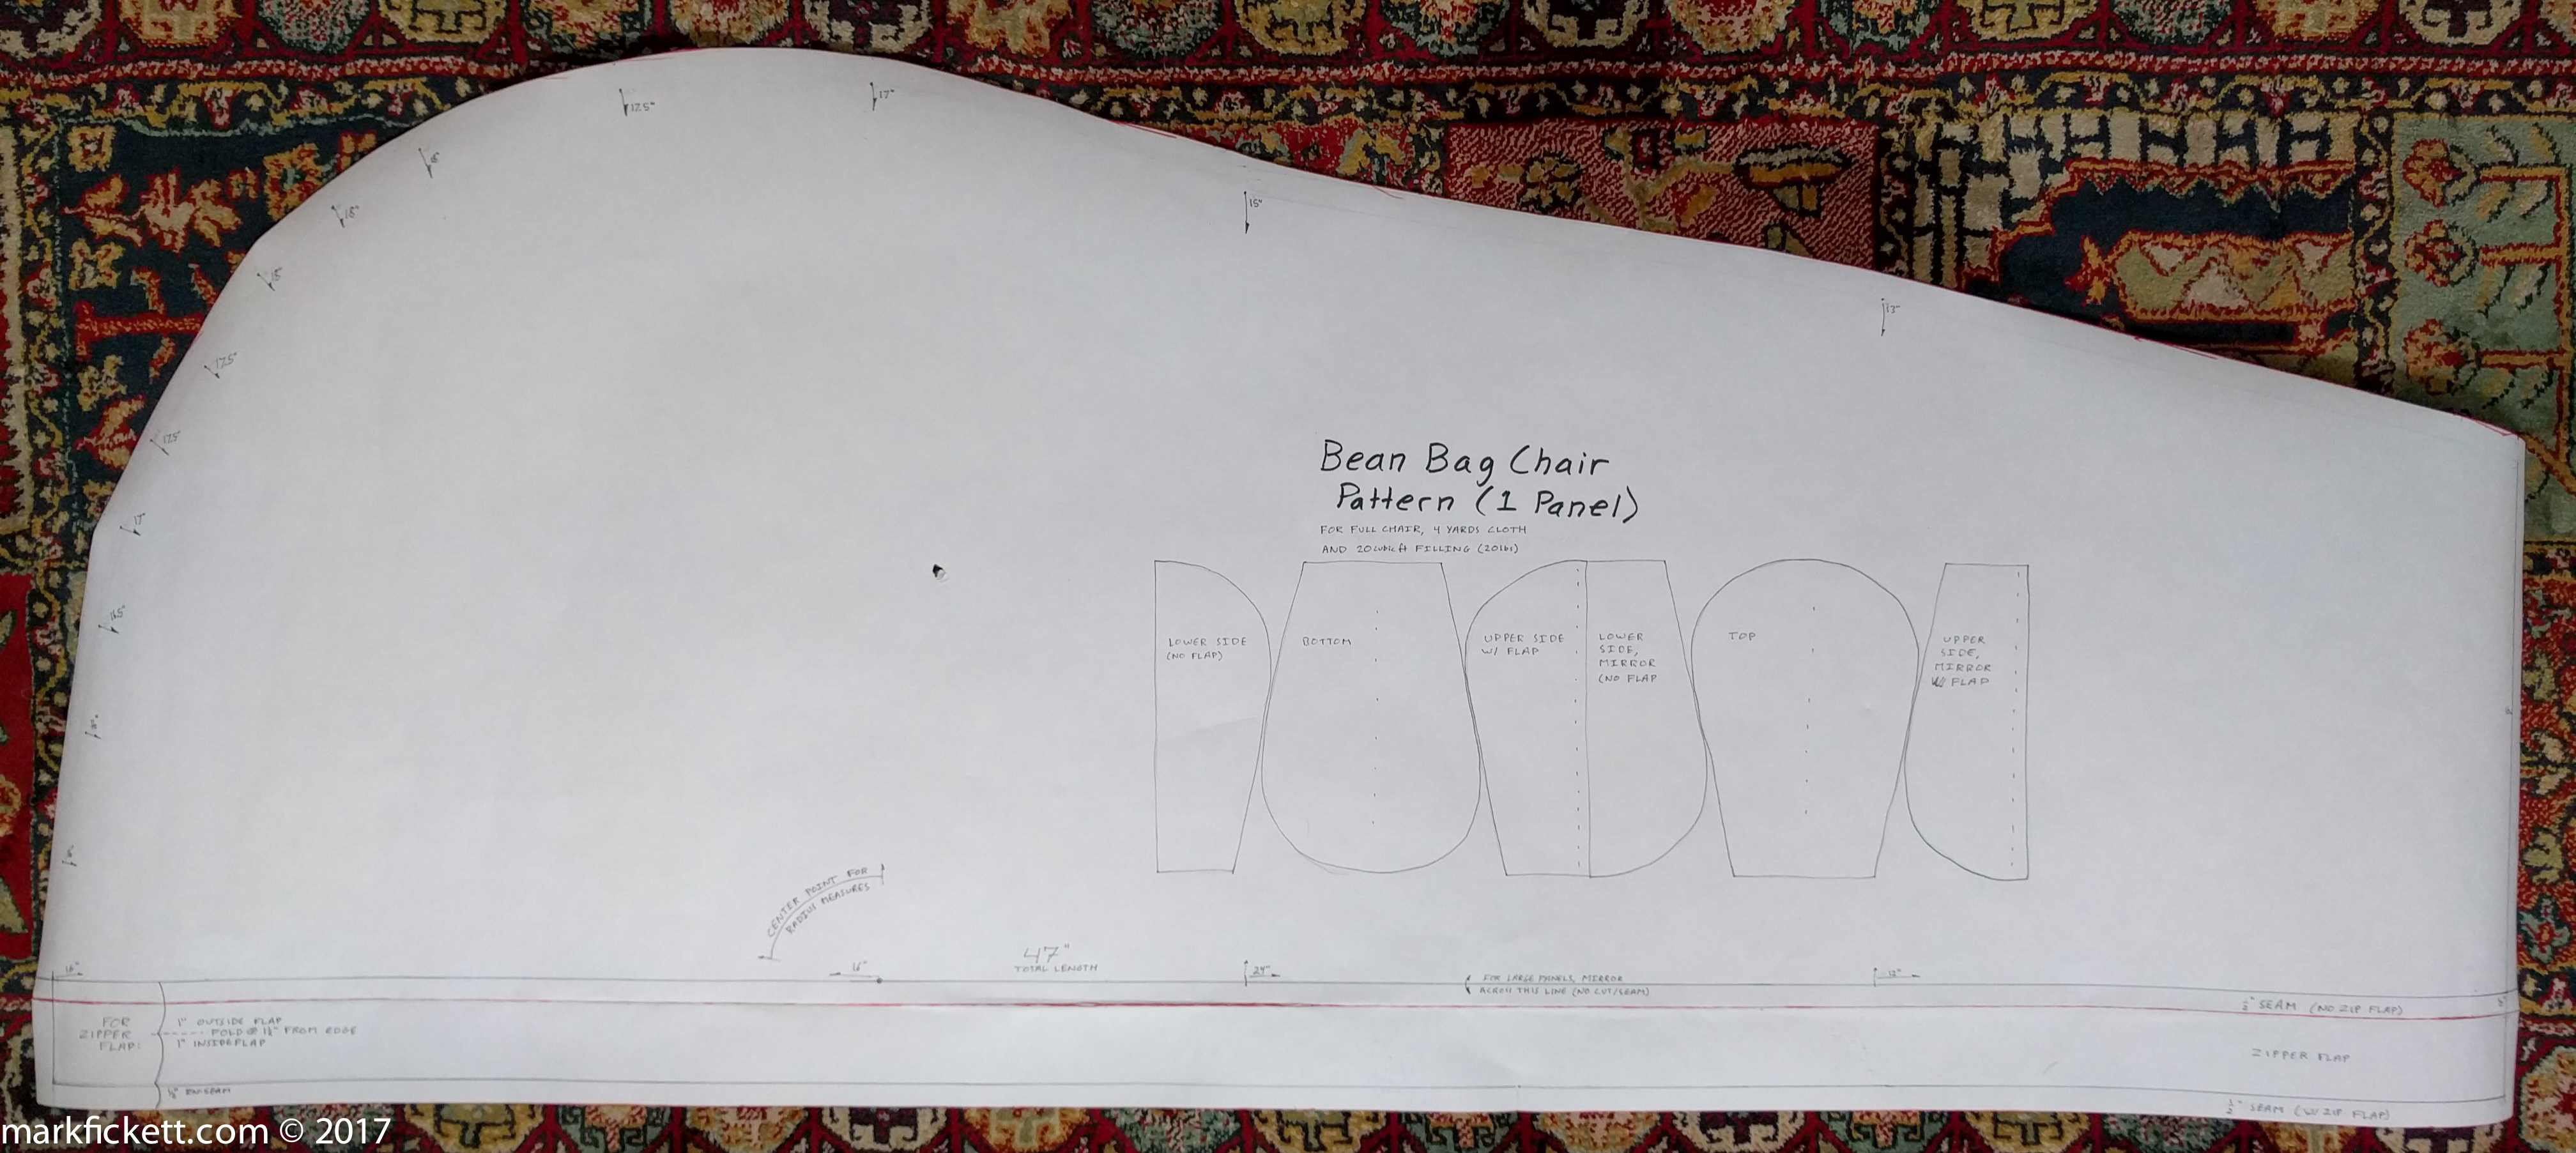
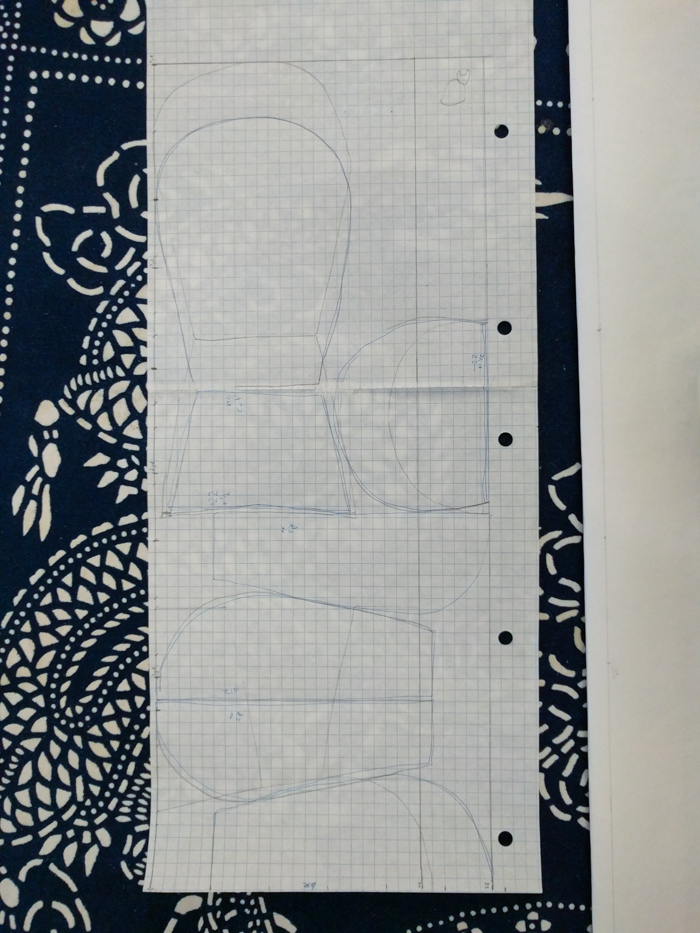
I modeled the pattern after an existing bean bag chair we had. It goes together like a baseball or tennis ball; the paper pattern is one eighth of the full bag.
I used a cheap linen for the liner.
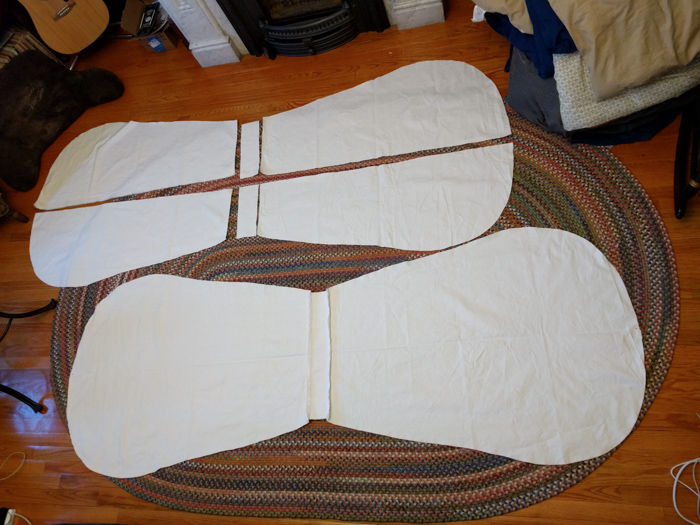
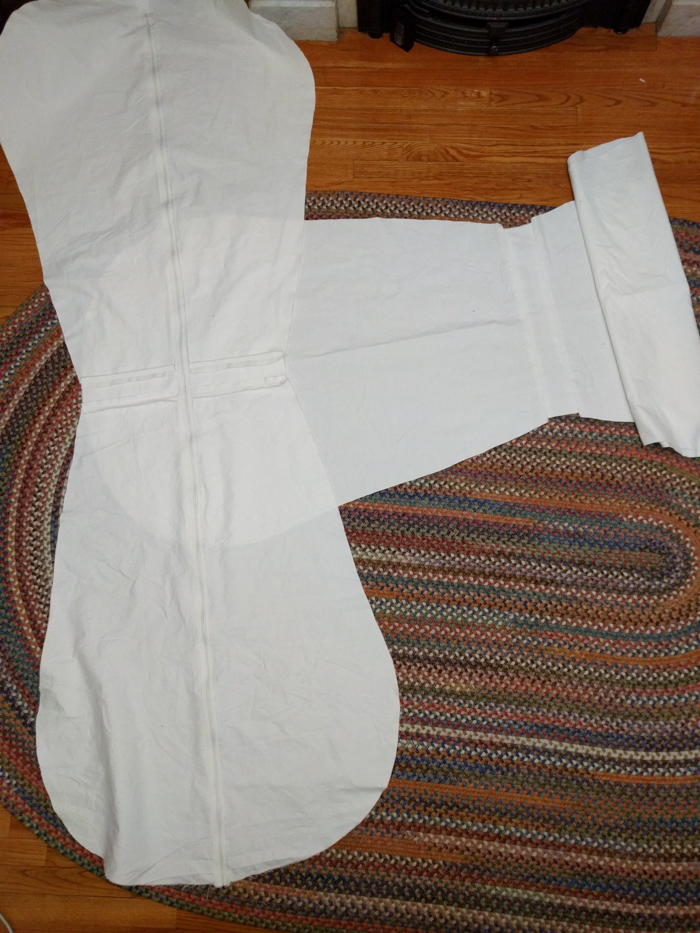
The liner fabric was 46", but the pattern was 48" wide, so I cut the main pieces a little short and sewed scrap cloth to the ends to get the full length. For each of the liner and the cover I followed this order:
I stuffed the chair with 20lbs Jaxx medium-grade shredded memory foam, which ships compressed. (I ended up adding a little more foam later; with only the initial 20lbs, the filling wasn't always enough to keep from sinking down almost to the floor, although it puffed up most of the chair's volume.)
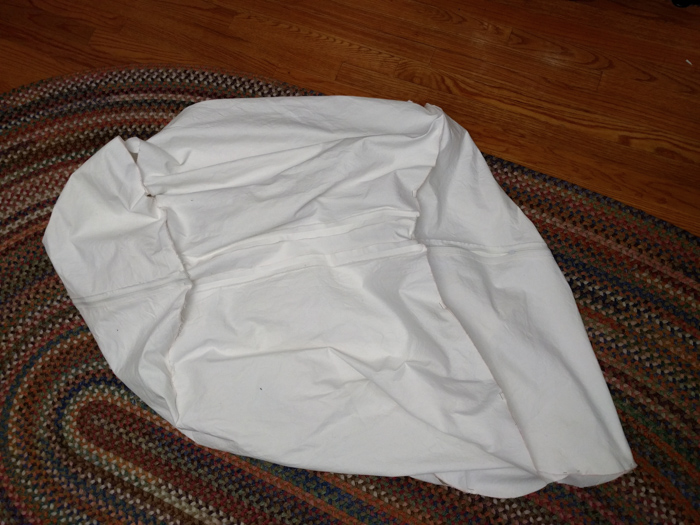
I test-stuffed the liner using all of the couch pillows.
The filling shipped in a zipped compression pouch which in turn had a sealed plastic lining.
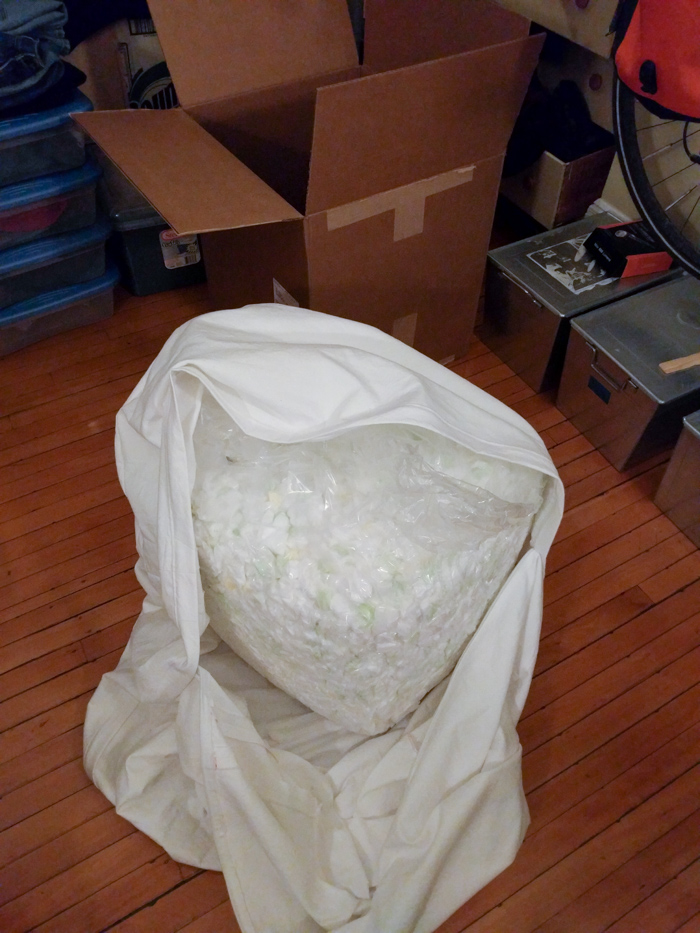
The shredded foam has extreme static cling, but by cutting open the plastic bag inside the liner and squeezing the filling out sort of like toothpaste I managed to avoid getting almost any foam outside the liner.
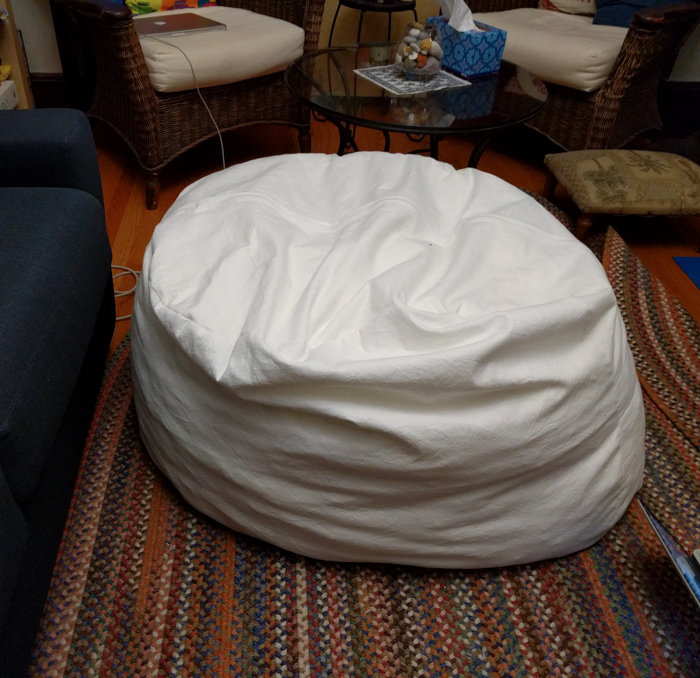
The foam expanded considerably over the first night.
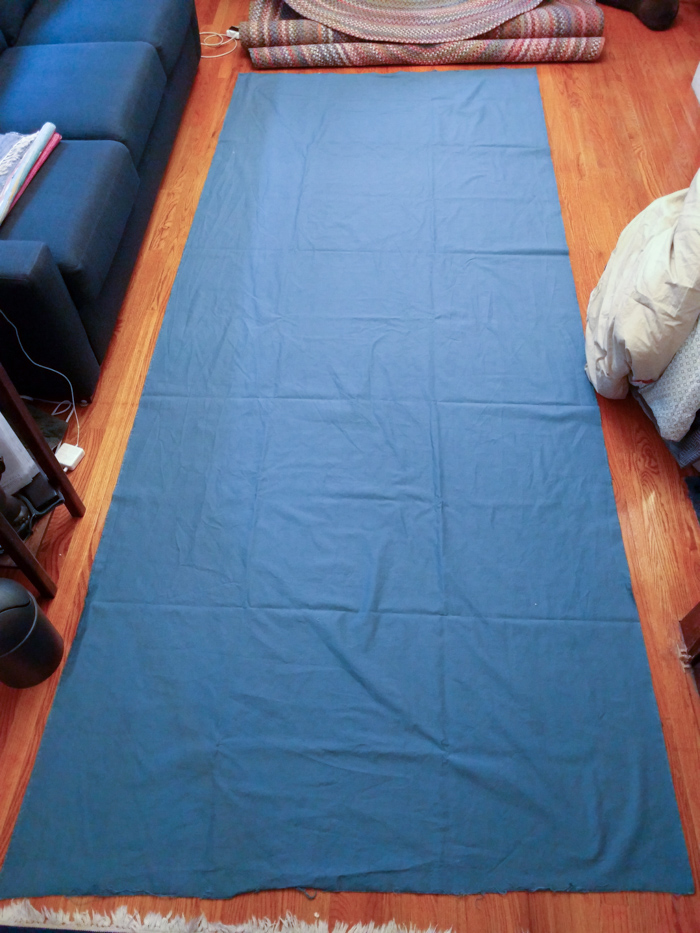
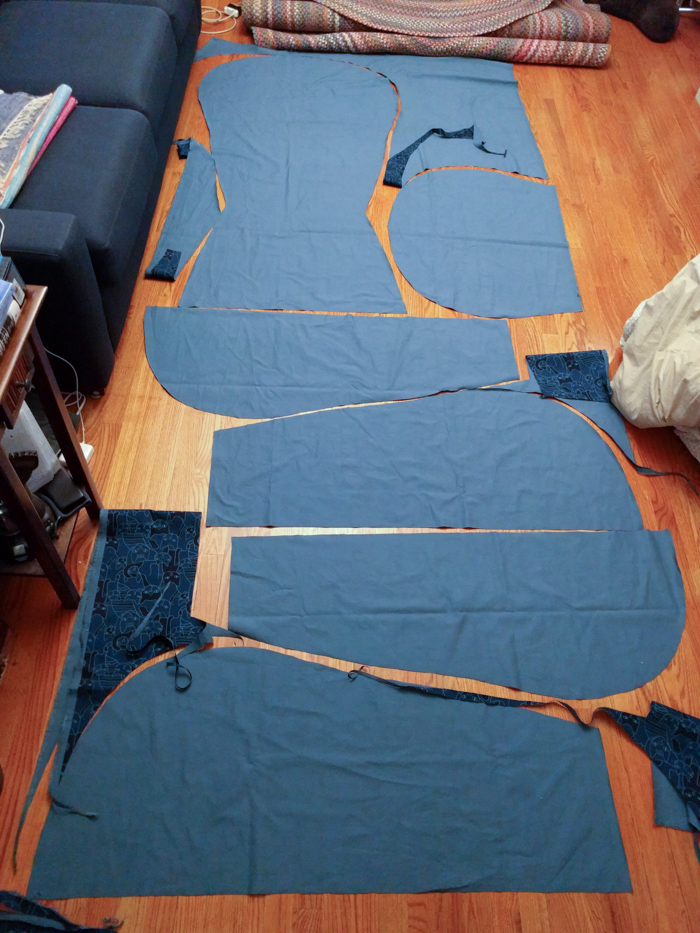
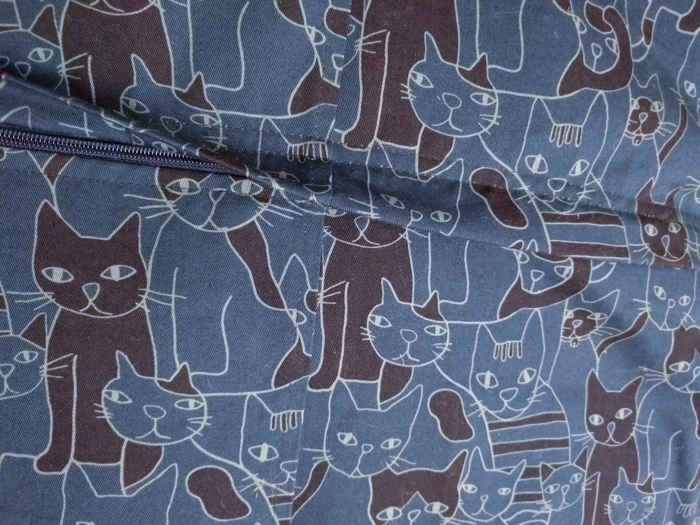
The material for the cover was 58" wide. I planned the layout by tracing scale templates onto graph paper, to get the pattern facing the way I wanted and to maximize contiguous scrap area.
4 yards x 58" took up most of the living room to lay out and cut.
I used Sullivan's 3-yard make-a-zipper kit, since my local fabric store didn't have sufficiently long zippers.
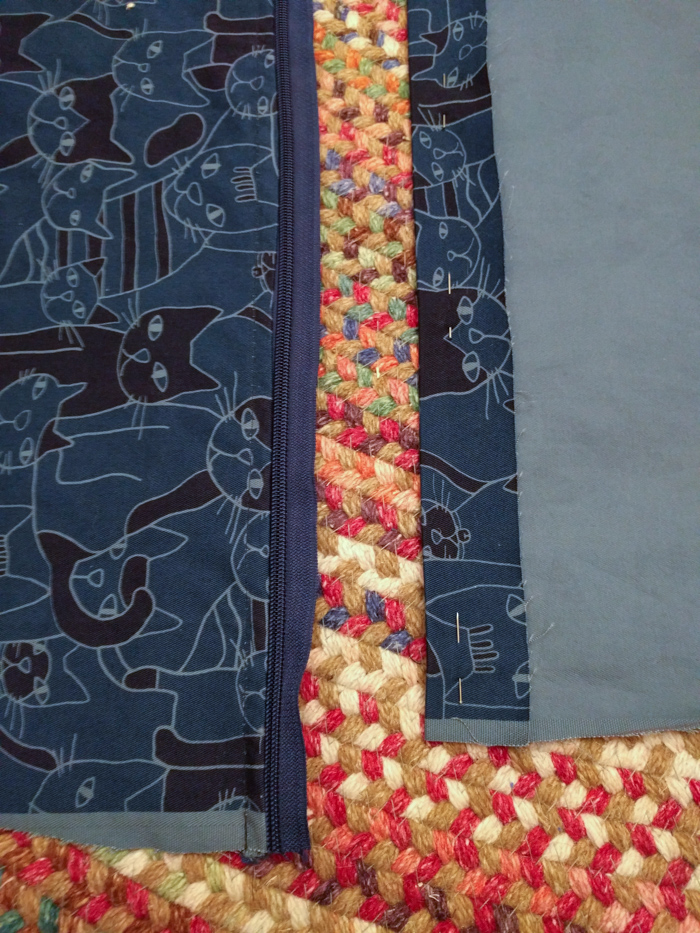
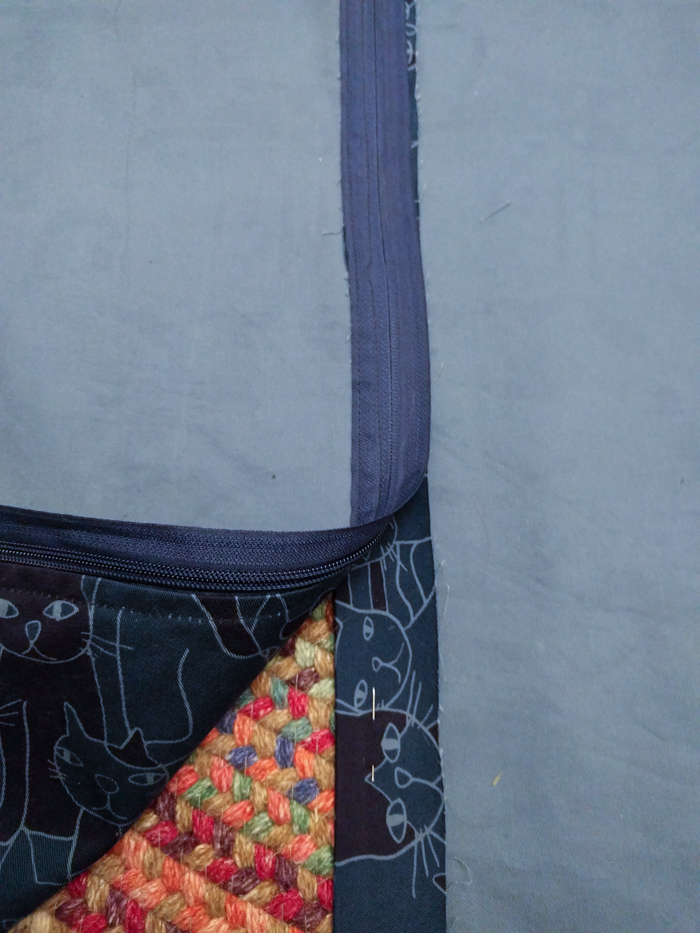
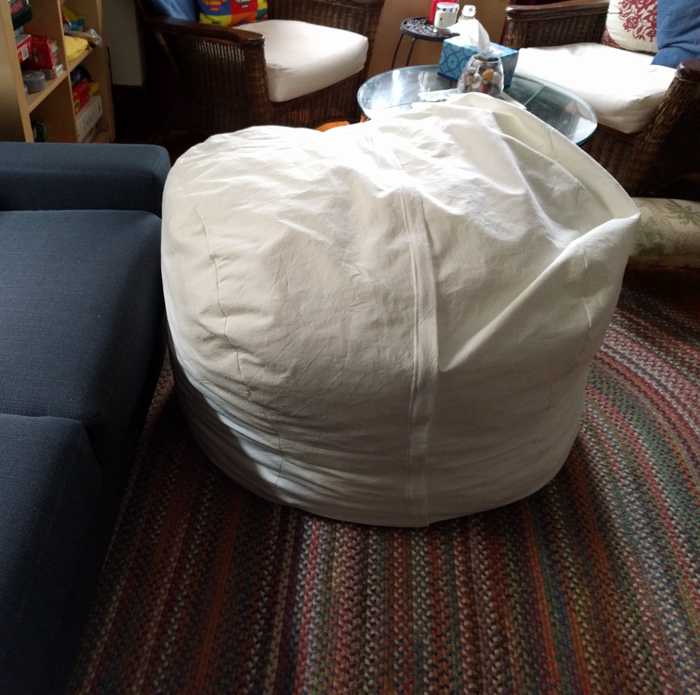
The all-the-way-around zip was very convenient for fitting the cover around the stuffed liner.
The patterns I could find were all for kid-sized chairs, so I ended up modeling my pattern after the one adult-sized bean bags I had physically available.
I got the fabric at Gather Here, who also helped estimating how much fabric would be required and which materials were appropriate.
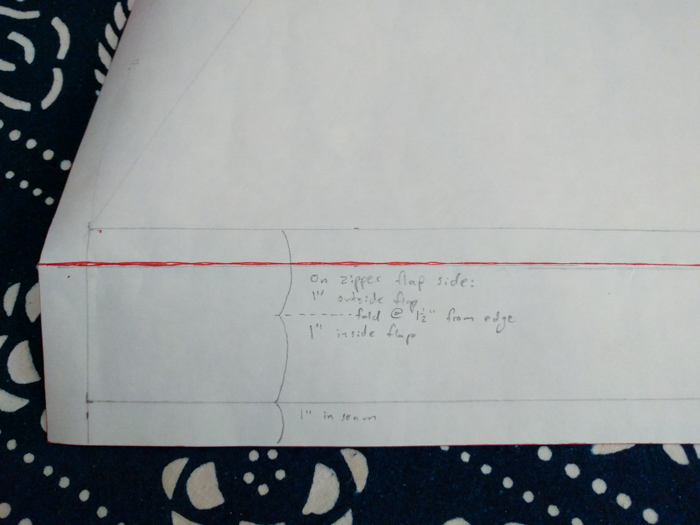
The liner probably didn't need a full-length zipper or a flap over the zipper, though extra cost/work for those was minimal (and made good practice for the cover).
The zipper is tighter than the rest of the cloth, leading to a little bit of a belted look. Better handling when sewing, a shorter zip, or less stretch in the cover material, might reduce that.
I typically want a back to the chair, so a pattern with some unevennes might work better overall.
2017 Mar 27
In: Misc
Created by and ©2017 Mark Fickett except where noted. I try for valid XHTML 1.0 Strict and CSS.